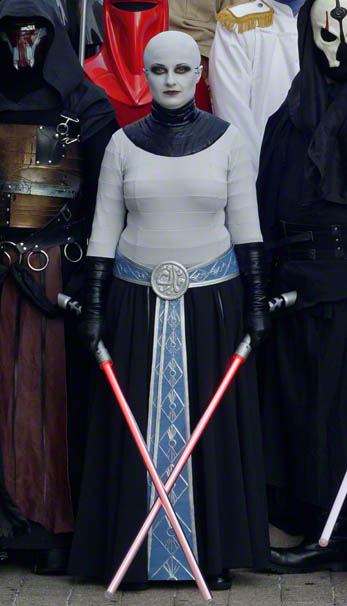
(warning, this may ramble on a bit...)
A group photo is very technical in nature. You have to be very precise, have considerable technical knowledge, and good equipment to take a group photo.
I could summarize a great group photo into 3 components: planning, lighting, and equipment. You have to execute or handle all 3 correctly. Screw up one and the whole photo falls apart. Large group photos require the efforts of multiple people.
Preplanned layouts reduce staging and set-up time. This is especially advantageous for large groups of people wearing hot costumes in hot summer weather. I would recommend staging with "buckets off" first to make things more comfortable for everyone. This also helps when you need to communicate instructions for people to adjust their positions. With 80 people or so, you should be able to position everyone within 30 minutes.
Area scouting should be done to check out the staging area for the photo, so you know what to expect. Doing it a day prior at the same time of day when the photo is planned is useful to verify the lighting situation. Do not use a flash, using one creates harsh contrast and shadows with significant fall off the farther you are from the flash. People can hold pretty still for about 1 second if a long exposure is required. If you use longer than a 1 second exposure with a high ISO setting, it will honestly be very dim where you are trying to shoot, and should consider a different location.
You don't want to have too many people blocking each other. With cosplay group photos, you really want to show off the people and costumes, not just faces. Try finding a high vantage point to take the photo, and space the rows apart. One thing people IN the photo need to remember, if you can't see the lens of camera, the camera can't see you. Speak up, or forever be obscured. If a high vantage point cannot be obtained, you can always try reversing this by having the people stand on stairs. Keep in mind that some people in costume may need assistance navigating stairs.
The equipment and knowing how to use it is another key factor in getting a good group shot.
All lenses can focus, but not all lenses can focus as well as others. Contrast is another factor that is overlooked with camera lenses. To read up more about this, I would suggest this page from Photography Life. In order to get a sharp photo you need to know which of your lenses to use, and what f‑stop gives you the best overall sharpest and highest contrast picture. A small f‑stop will give you a larger depth of field, but too small, and you end up hitting diffraction effects and loss of contrast. Too large of an f‑stop reduces your depth of field, people in the front or back will be blury. There is always an optimal f‑stop of your lens that will give you the best overall resolving power. Try locating your camera & lens on DxO Mark's lens test page to get a good idea where your lens & camera combination are optimal for overall sharpness and contrast.
Blur from vibration is a problem that is increasingly difficult to mitigate with increasing sensor resolutions. This is due to the relatively large vibrations compared to the small physical pixel sizes. The Nikon D810 has a pixel size of 4.88 um (the diameter of a human hair is 100 um)! At FanExpo, we take the photo from a concrete bridge overlooking the staging area. If someone walks quickly across the bridge, I will see 1-2 pixels of motion blur. You cannot feel the vibration, but relative to the pixel's size, that is significant. Even the vibration caused by the moment of the camera's reflex mirror can cause motion blur in your image. Vibration is more prominent when your camera & lens is not mounted around its center of mass. ie. if you completely loosen your tripod head, your camera should still point in the same direction, and not flop forwards of backwards. This is where a gimbal mount helps. Mup and EFC also help to control the shake that is caused when the DSLR's shutter actuation. You can't cheap out on the equipment! No amount of post-processing will fix lost information.
If I can, I also tape down the tripod legs to lock down the position. If you lock down your position, you can take a few clean plates so fix up some of the background (ie. people) that creep into the back of the group photo.
Oh, and shoot RAW! Don't complain that it's hard to store a 50 megabyte RAW file; hard drives are cheap compared to the cost of photo equipment. Why spend all the money and effort to get a super-detailed image and throw 80% of the information away by saving it as a JPEG. RAW post-processing gives you an incredible amount of detail to work with compared to the JPEG image that has gone through lossy compression.
Here are some more specific examples of what I'm talking about.
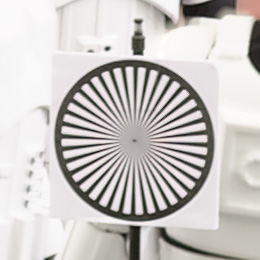
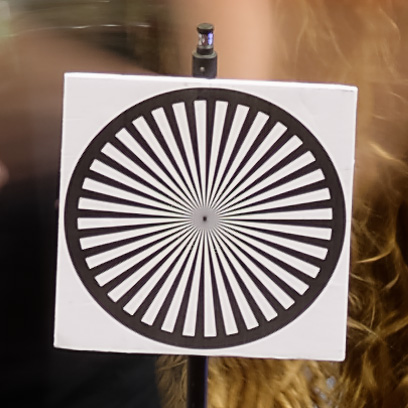
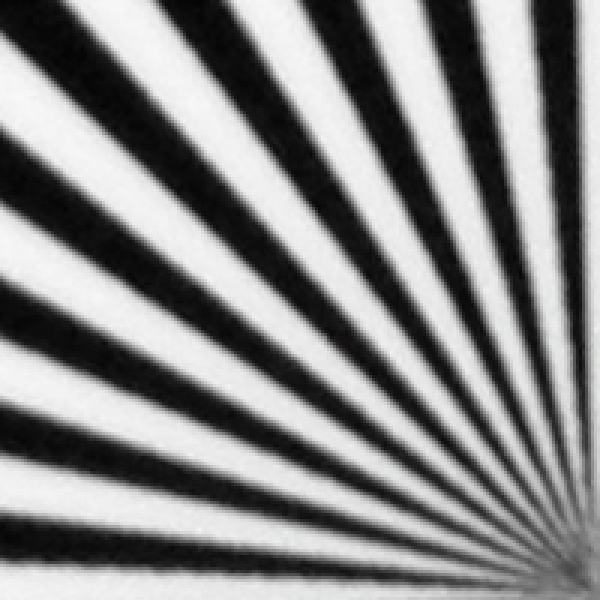
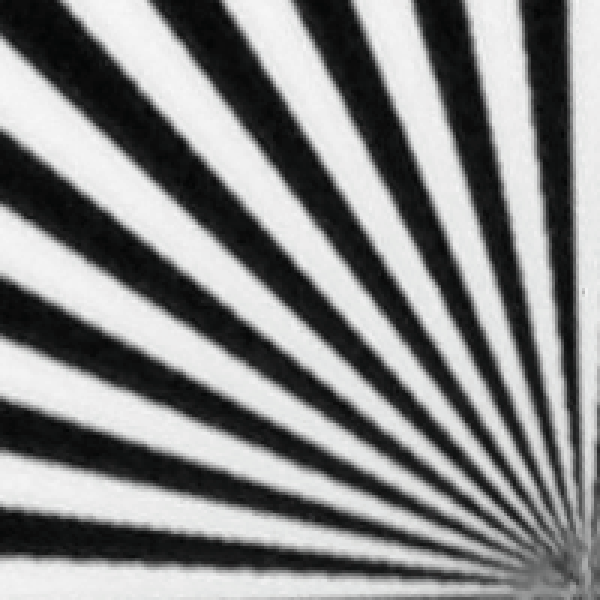
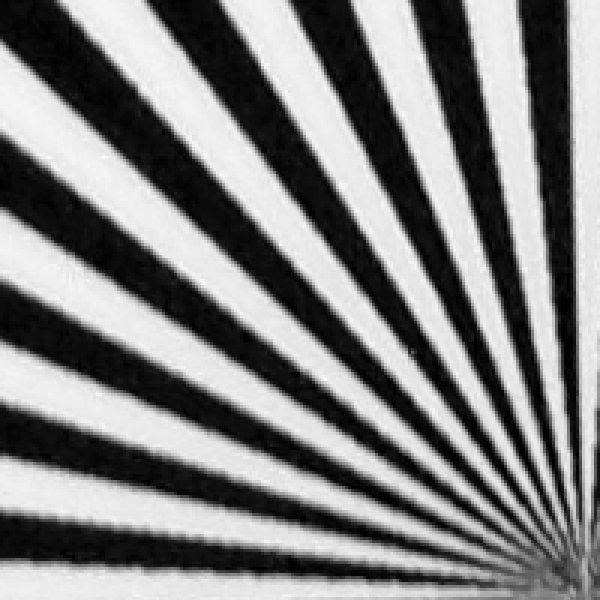
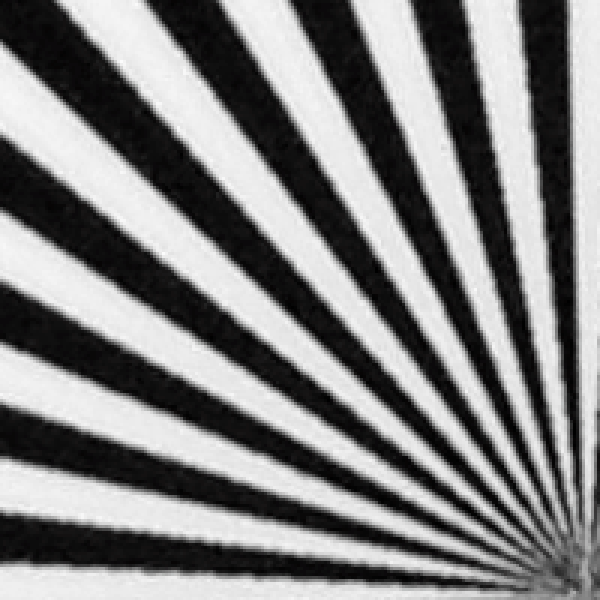
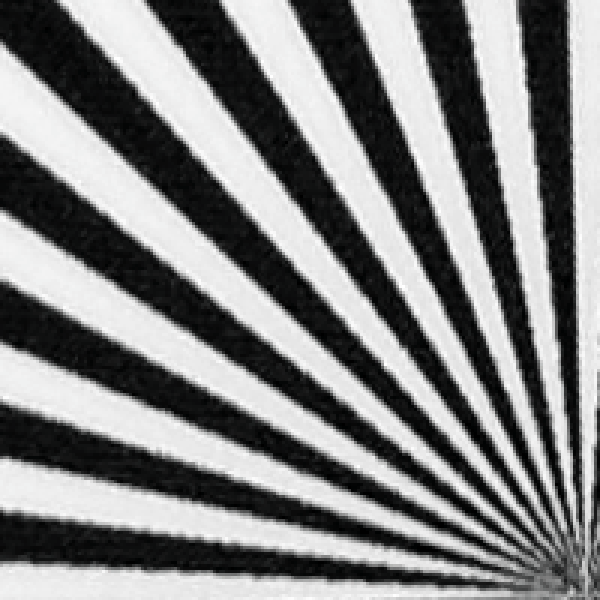
Using focus targets (I use a Siemen's star) to set up the staging area, and pre-focusing greatly improves the photo. I focus manually using the "live view" option on the camera. After focusing, I use a bit of gaffer or electrical tape to tape down the focusing ring of the lens so it doesn't creep. I like to the focus of the center of the image the sharpest; this is actually not the center row, but a few rows nearer to the front. If you don't have a focusing target, this can get tricky if the person is moving about waiting for the shot to be taken. I set up two focus targets, one in the front row, and one in the back row. You want the depth of field to cover the front and back rows.
| |
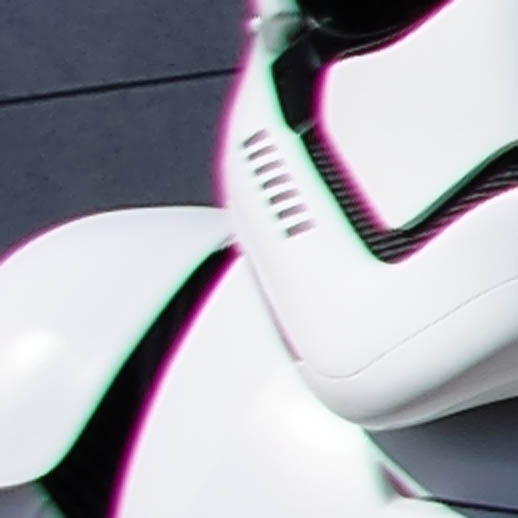 Example of chromatic aberration 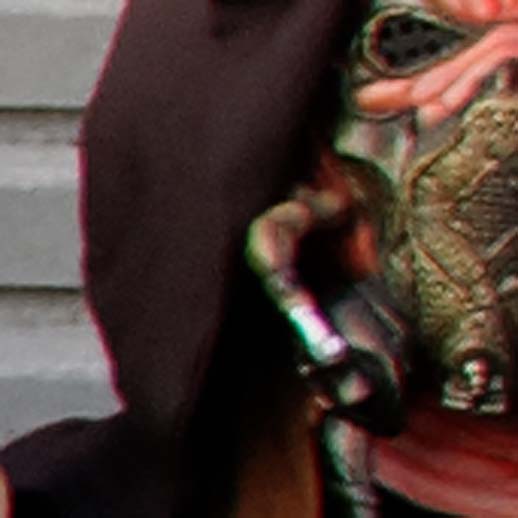 |
 Corrected with DxO Optics Pro 10 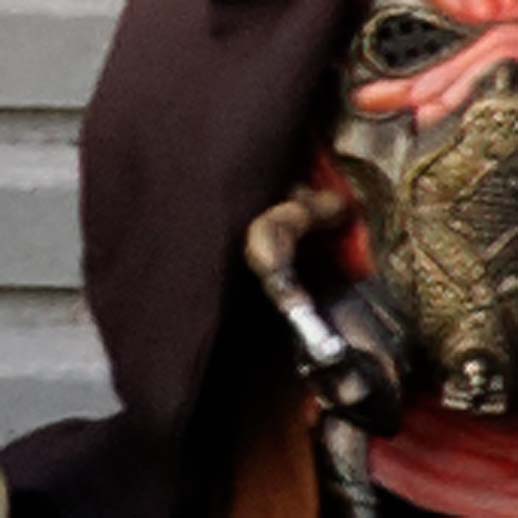 |
 |  |
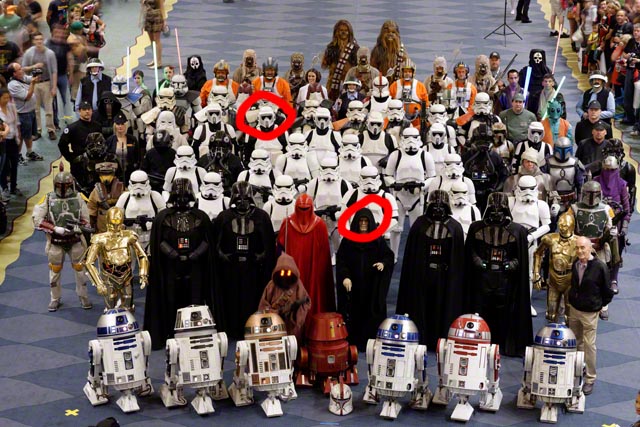
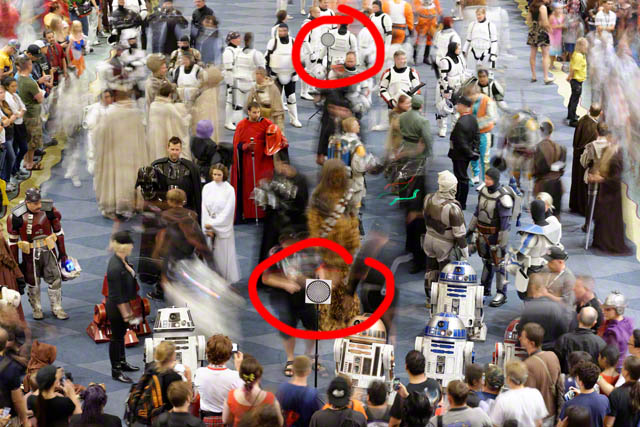
 | This a crop of the image area in the top circle, showing some motion blur. This is less than 10 mm of movement, from the 6th row! |
 | The 2nd circle is an example of the detail. Jordan here is holding as still as possible, the camera and lens is balanced on a gimibal, the remote shutter release cable is being used, Mup is on, EFC is on, VR is off. The pupil detail of the contact lenses is only 4-5 mm, and that this is only a crop from the full group image above. |
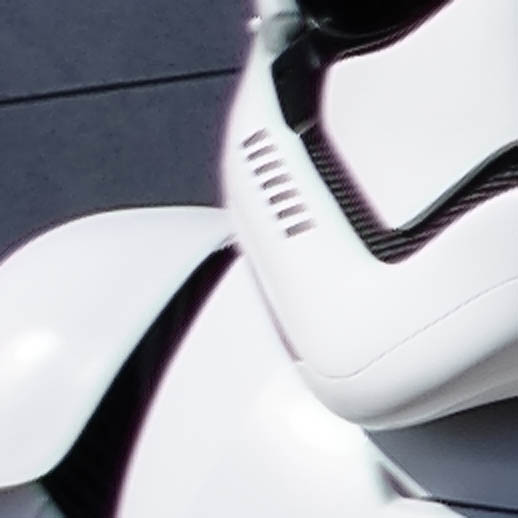
 | Nothing special, just a regular tripod Mup=off EFC=off VR=on |
 | switch to a gimbal tripod, with lens & camera balanced |
 | switch off optical image stabilization (VR) yes, you heard me right, OFF! It's not perfect and causes blur. |
 | switch on reflex mirror lock up (Mup) |
 | switch on electronic front curtain (EFC) |